This section covers some fundamental basics used throughout the program. Knowing this information will be a tremendous help if you have never used our software or are updating to the latest version.
Menus
Due to having numerous menus in the application, all menus have a Title Bar for identification. Clicking anywhere in the title of a menu will dismiss it.
The Main Menu - Our application menu has changed to a single-button vertical menu located in the upper-left corner of the main application window's top tool bar.

Local Menus - Each feature window has its own local menu on its tool bar. Some windows will have an additional menu accessible by a Right-Click in the body of the window or other objects that will display a menu when clicked.
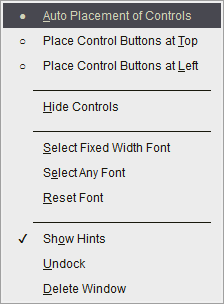
Common Local Menu "Window" Item - Menu items on the local menu are options or functions specific to the window's content. Local Menus also have a "Window" menu item with common general options such as Tool Bar visibility and placement, Font properties, undocking and so forth.
Tool Bars
The main application has two tool bars. One at the top and bottom of the application window.
see Top Tool Bar, Bottom Tool Bar
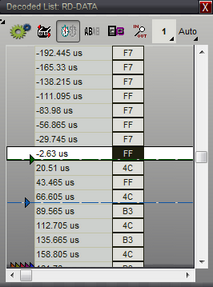
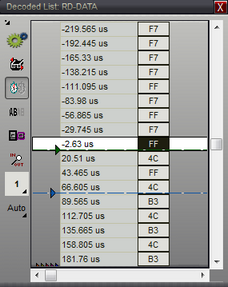
Local Window Tool Bars - All docking windows have a configurable tool bar that auto-positions itself at the top or left side of the window depending on the height to width ratio and where the window is placed. This feature can be disabled and tool bar placement can be chosen by using the local menu's Window option.
These tool bars can also be hidden by double clicking on any area not occupied by a button or by using the small triangle in the upper-left corner. Repeating the process will re-open the tool bar.
Tool Bar Top |
Tool Bar Left |
|
|
Tool Bar Closed |
|
|
|
Mouse Basics
DigiView software uses the mouse position and mouse clicks to determine which window will respond to mouse wheel movement and keyboard actions. It also responds to Left and Right mouse clicks on the same item with different actions. The Middle mouse wheel (button) is also utilized when clicked. When moving the mouse over a docked window or clicking on its border or tool bar, its contents will appear to depress with a line drawn around it, meaning it will now respond to any key strokes or mouse wheel movements.
Focus Example: If you position the mouse over a Waveform window, then press a cursor key, the window will scroll (see Waveform View Mouse Functions).
Left/Right Click Example: A Left-Click on a Search Button will search backwards from the point clicked, while a Right-Click on a Search Button will search forward from the point clicked. Most symmetrical or opposite functions utilize a Left and a Right click.
Middle Mouse Button Example: Clicking the middle mouse button in a Waveform View will activate Quick Measurements and the measurement starting point in Waveform Views.