While analyzing the data, you may want to save a specific view to a graphic file or send it to a printer. Both of these functions can be done from DigiView's Print Preview window. To open the Print Preview window, select the "Print" or "Save Image" option from the menu of any window you want to print.
To Print using the main menu select Main Menu-> Print and then select the window from the list.
To Save an Image using the main menu select Main Menu-> Save Image and then select the window from the list.
Both lists include a selection for the Main Window and any feature window you have added to the project. To print or save an image of just a waveform view, use the Waveform View's local menu.
After selecting what you want to print and opening the Print Preview window, you can switch between printing and saving an image by clicking on the tabs at the top of the window. Most of the options are the same between the two methods of output with the differences being the output size, resolution and orientation.
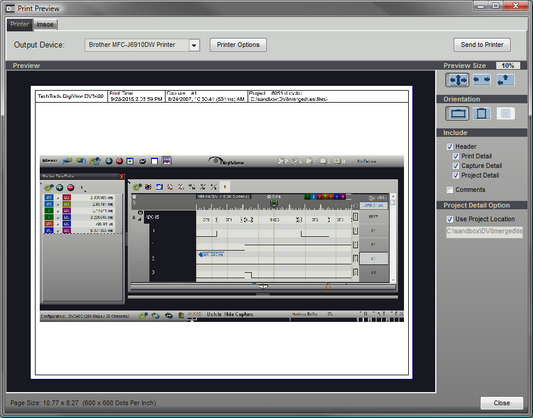
Print Example
Print Specific Options
Output Device
A pull down selection list of all available print devices. Use this option to select the Printer, Fax or PDF print driver. After making a selection, the Page Size information and the preview will update to match the properties of the print device. The size of the printable area (followed by the print resolution) is displayed in the lower left corner.
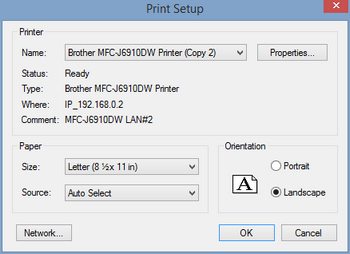
To change the properties of the selected print device use the "Printer Options" button beside the selection list which will open the Print Setup window.
Orientation
Print devices allow you to change the orientation of the output switching between Landscape (horizontal) and Portrait (vertical). You can do this in the Print Setup window by selecting the "Printer Options" button or use the orientation buttons. If you change this setting in the Setup window the orientation buttons will change to match. Advanced options for the print device can be accessed by using the "Properties" button in the Print Setup window.
For print output, the actual printed image will adjust to fit within the printable area and orientation of the Print Device and allows for spacing needed by the border, header and comments if selected.
Send to Printer
Press this button to send the preview to the print device.
Image Example
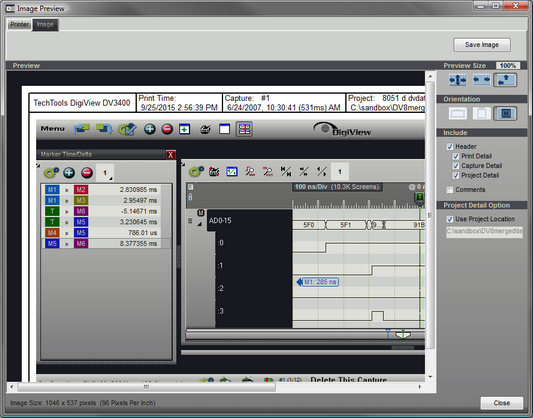
Image Specific Options
Orientation
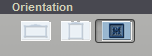
The orientation of the Image is fixed to its screen orientation and "Size by Content" is permanently selected. The content of the image remains fixed but the output is sized to include the border area, header and comments if selected. The final output size is displayed in pixels at the lower left corner of the window and followed by the resolution (pixels per inch).
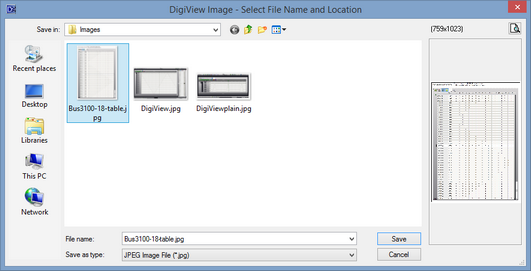
Save Image
Press this button to save the preview as a JPEG image file. You can select the file name and destination or cancel the save using the Image selector window that appears.
General Preview Options
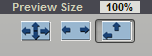
Preview Size
Adjusting the window size will automatically re-scale the preview unless the no-scale option is selected.

Scale to Height and Width - The preview is scaled to completely fit in the window so no scroll bars are needed.
Scale to Width - The preview is scaled to fit the width of the window. A vertical scrollbar will appear if the preview height is taller the the window display area.
No Scale (actual size) - The preview is not scaled and the preview is displayed at 100%. For print output this could be very large depending on the properties of the selected print device. The vertical and horizontal scrollbars will appear if needed.
Items to Include
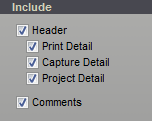
Header - When selected a Header space is included at the top of the output with the Analyzer Model printed on the left. If no other header options are selected, the rest of the area will remain blank.
Optional items to include in the header:
Print Detail - Select this option to include the Print Date and Time in the header.
Capture Detail - Select this option to include The Capture Date and Time and the Capture ID number in the header.
Project Detail - Select this option to include the project file name in the header. The additional "Project Detail" option controls whether the project path is also included or if a custom caption is included.
Comments - When selected the Comment Options and Editor will be visible and included in the output.
Project Detail Option
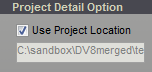
If you select Use "Project Location", the project path will be used for the project detail beneath the project name. To enter custom text for the detail option just uncheck the "Project Location" option and type your text in the edit box just below it. Your custom text (or blank text if desired) will appear in the header beneath the project's file name.
If you re-select this option the path will appear in the edit box and the custom text is remembered. if you uncheck this option later, the custom text is restored.
Project Comment Options and Editor
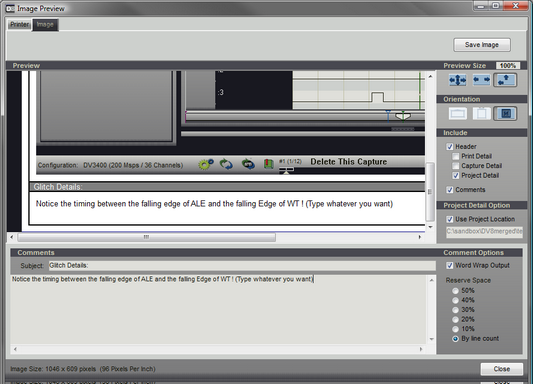
The comment editor and options will be visible if you selected to include comments in the include section.
The default comment options (shown above) are set so you can type as many lines as you want and not worry about line spacing or formatting where each line ends. These are "Word Wrap Output" enabled and Reserve space set to "By Line Count". With these two options set, the output adjusts to accommodate the entire text in the output. For images the height grows by the needed (or selected) space. On print output (which has a fixed printable area) the content is reduced by the amount of space for the comment.
If you only want to reserve a specific portion of the output for comments (even without typing a comment) set the "Reserve Space" option to the desired percentage (10% to 50%).
Subject - Type anything here and it will appear above the comment section in the output. The example above has "Glitch Details" entered instead of the default of "Comments".